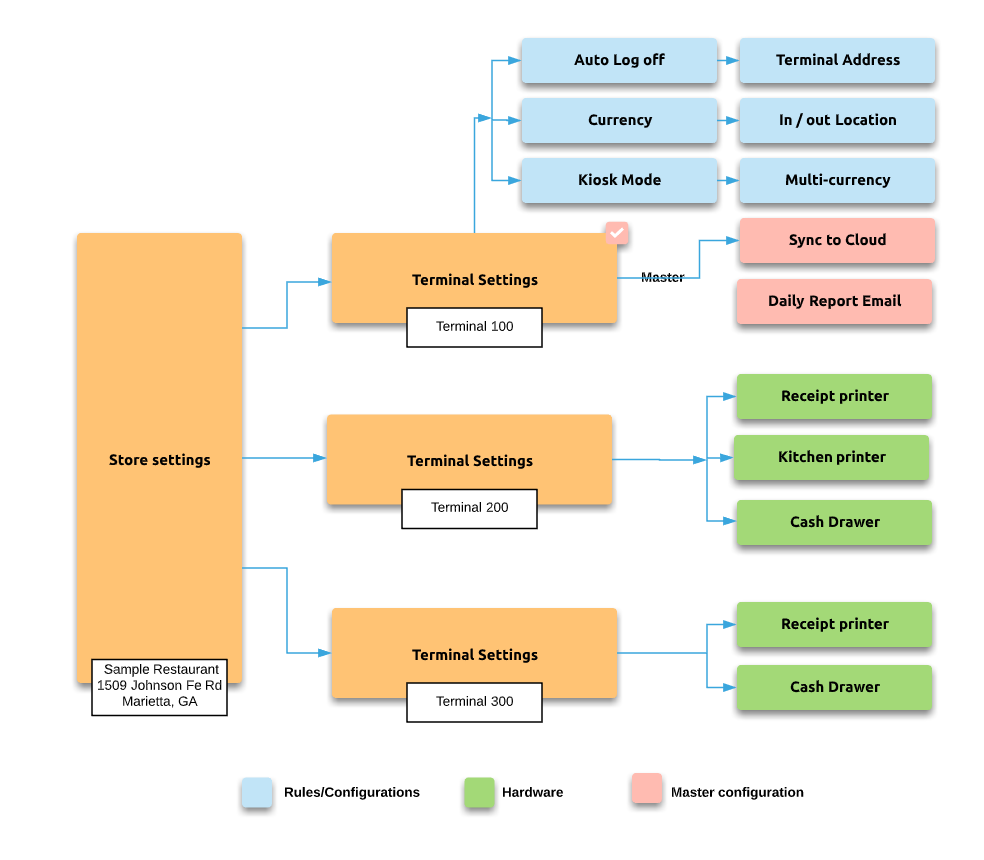
In a store, computers connected to one database are referred to as terminals. Small stores with few products can run POS and database in one single terminal while large restaurants would use a database server and connect many terminals. This is important to understand terminal configuration because they define how each terminal will behave. In the picture below we can see store settings are copied to each terminal. So if we change store name and address, all terminals will see those changes. In Terminal 200, we added a receipt printer and kitchen printer. While in Terminal 300. we have only used a receipt printer. Both of these them have cash drawers. In terminal 100, which is our back office, did not have any printer but marked it master terminal.
A master terminal is the main terminal that runs periodic jobs. It, for example, if a store is not closed, it can force close it at midnight. It can also send reports over email to the owner, A master terminal should not be shut down.
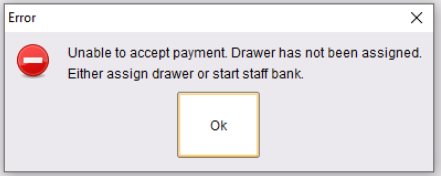
If a store wants to receive payment in a terminal it must tell the terminal has a “Cash drawer”. Even there are no physical cash drawers present, that terminal should add a drawer. If the cash drawer is not configured and/or assigned, when a ticket is being settled it will prompt
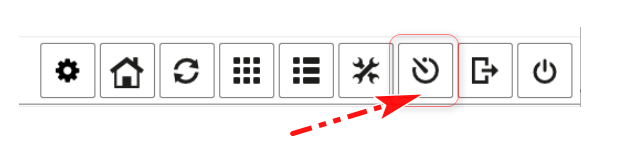
In that case Cashier can logout and clock in or directly click on the clock in button in the toolbar and assign cash drawer from the user dashboard.
General Configuration
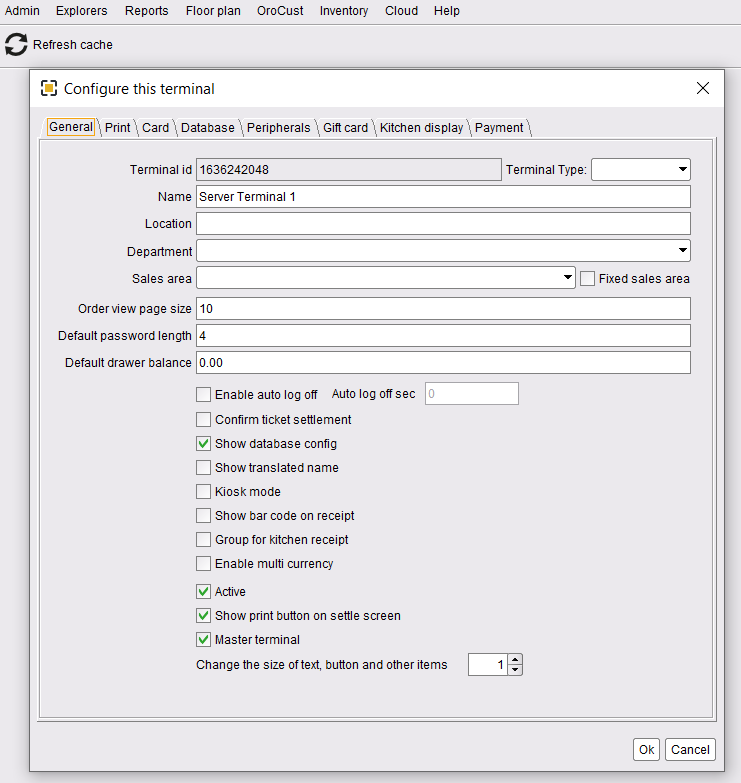
To configure the terminal go to back-office–> admin–> terminal configuration.
Terminal ID: This unique terminal identifier is generated automatically.
Terminal Type: This is a simple way to configure multiple terminals to show certain Order types and Menu categories. You can learn more in Terminal wise Order Type
Name: This also generates automatically but stores can change the name of their choice.
Location: If terminals are at a different physical location, this address is used to calculate the distance for home delivery.
Department: This is used for muli location chain stores. For a small store, similar features can be obtained by Terminal type.
Sales Area: Store can attach information on where items are ordered. Examples are “Banquet, Garden, Patio, etc.
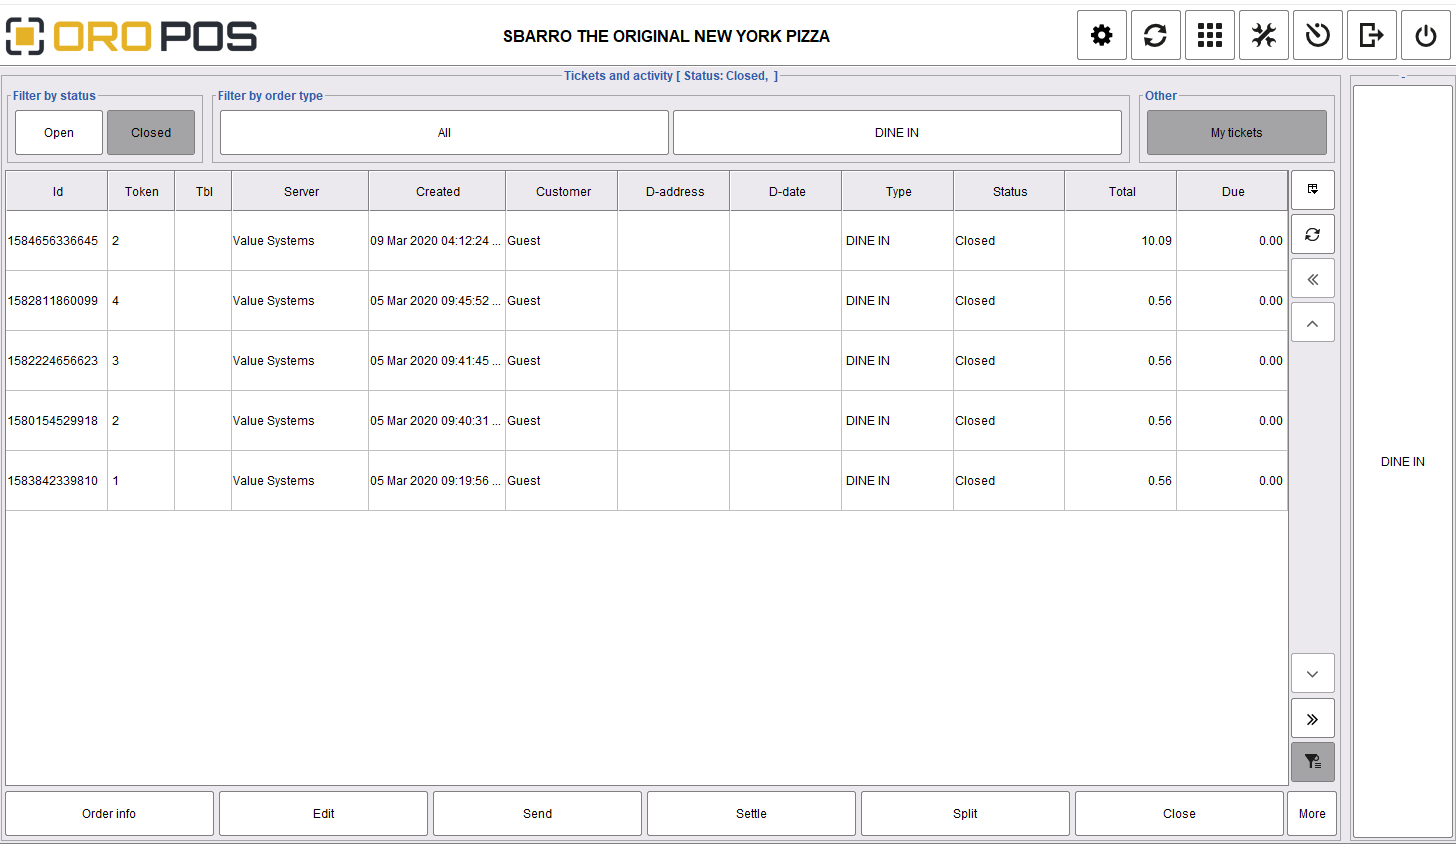
Order view page size: This page size determines how many tickets will be shown on the Orders page. To see the next page server has to press the next button at the bottom right.
Default password length: For auto login to the system once you enter your pin. If you use 4 digit pin and use the number 4 here, the system will automatically click ok and allow you to log in to the system right after you enter your 4 digit pin.
Default drawer balance: This applies when you choose the auto store open from store configuration.
Enable auto log off: Some store requires to log off their users after a certain time. A store can determine the seconds of auto log off here. If the system is idle for that period, it will automatically log off the screen and go to the login screen.
Confirm ticket settlement: This will show additional confirmation on Ticket settlement.
Show database config: If you choose this option, it will show the database config button in the login screen. Otherwise, the system will hide it from the login screen. In a busy store, where the store authority doesn’t want to show the database configuration to its employees, it usually hides it from the login screen.
Show translated name: If you want to show the translated titles for the menu items shown in the order types, select this option. This helps, people outside of the USA to use their own native language and present the menu items names to its employees.
Kiosk mode: This feature will give the opportunity to use the POS in a KIOSK mode.
Show bar code on receipt: Use this option to show the bar code in receipts.
Group for kitchen receipt: This feature is temporarily unavailable in recent releases.
Enable multi-currency: Learn about this from here.
Active: Make your terminal active.
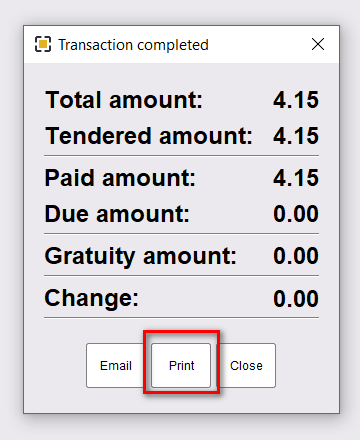
Show print button on settle screen: This is to show the print button on the settle screen.
Master terminal: If you want to make this terminal as a master terminal, select this.
Change the size of text, button, and other items: This is used to increase the size of fonts for high DPI monitors.
Please note, in a store where multi terminals are connected, make only one terminal as a master terminal.