

Examples of Inventory locations are “warehouse”, “zone”, “shelf’, “bin” etc, where products are stored. In some cases, the store can create logical locations like “sales” or “main”. ORO POS Inventory plugin identifies location by unique name or Id.
ORO POS Inventory plugin creates a default location named “Store” for IN and OUT of the product. When a product is purchased, if not specified, they are added to the default IN location. In the same manner, when a product is sold, POS will deduct them from the default OUT location.
You can edit create different new locations and set them as the default locations. In some cases there are two different locations for IN and OUT.
To add a inventory location visit back office–> inventory–> locations
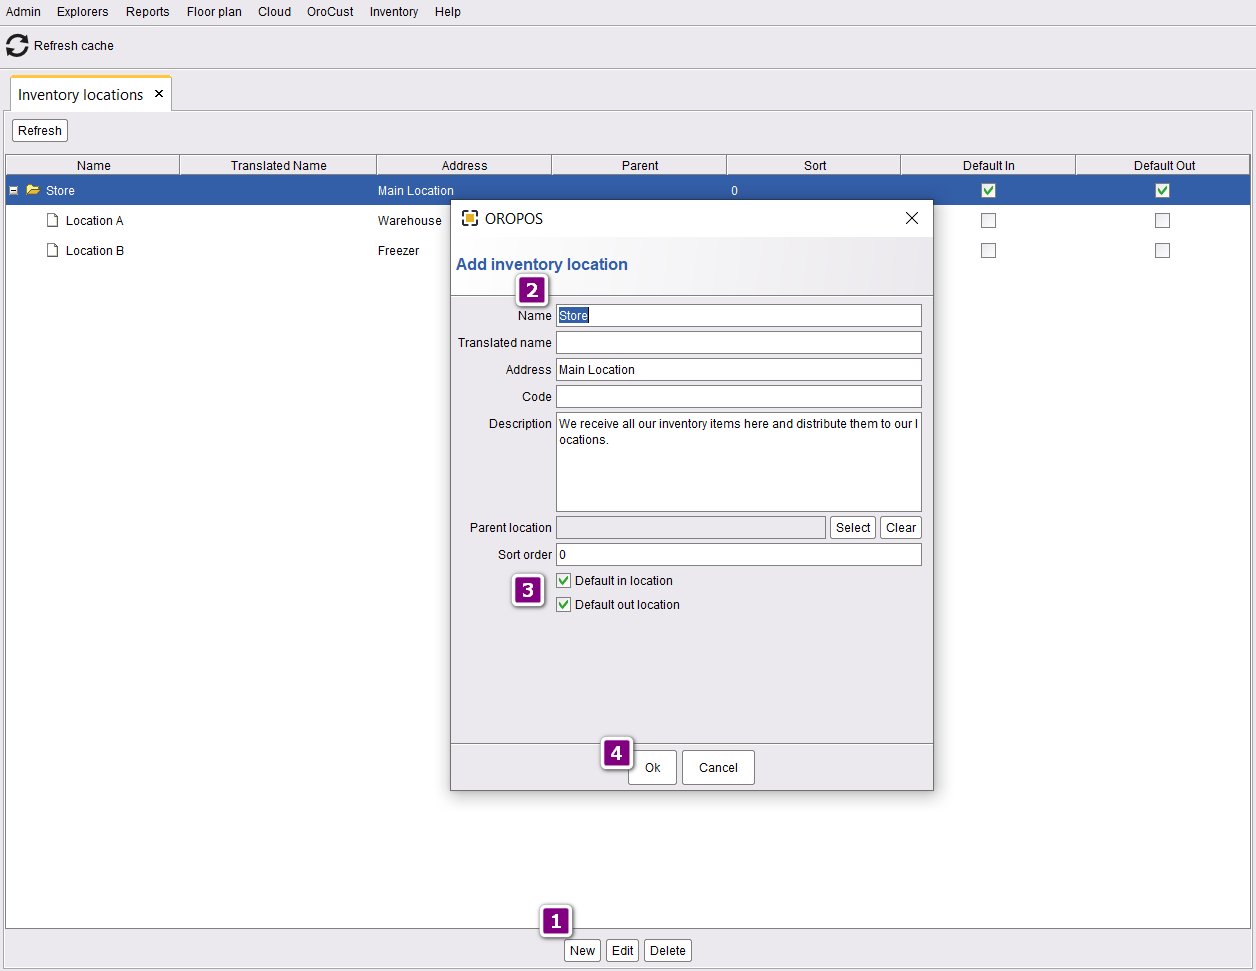
- Click on New to add a location.
- Insert the location name and other pieces of information.
- If you want you can set it Default for IN and OUT.
- Press ok to save the changes.
After that, you can also add as many the locations as you need. If a want to specify a child location, for example, “bin” under “shelf”, then specify that in parent location. Details steps are as follows
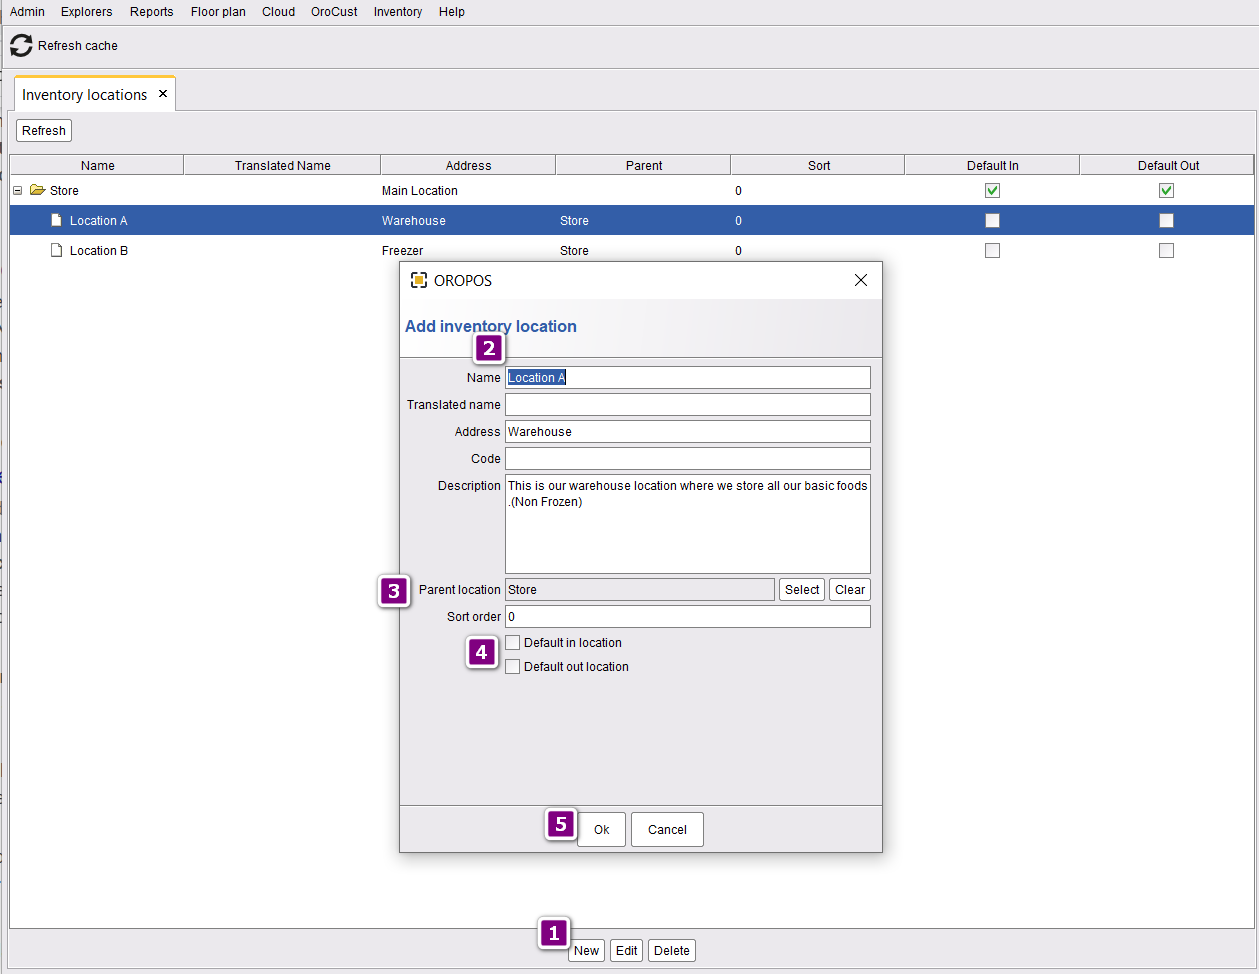
- Click on new to add new locations.
- Name the new location and insert other pieces of information about the location.
- Choose the parent location. The location where inventories will receive from.
- Leave the default in and put location blank because this location uses only for storing the inventories.
- Press ok to save the changes.
You can also setup Default locations in the inventory plugin configuration.