

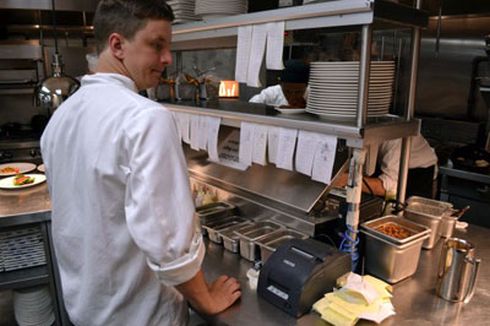
Restaurants and Bars need to control their kitchen to speed up food preparation, increase productivity and minimize wastage. One common way is to set up an Impact printer in the kitchen. Impact printers are slower but they work better in a hot environment. Often there are multiple kitchen printers to route different types of food in the different preparation areas. Kitchen tickets are known as Kitchen receipts or Chits. ORO POS supports wide ranges of kitchen printers. You may find some certified kitchen printers on our website.
Virtual Printer and Physical Printer
First, a store goes to the back office and needs to add Virtual Printers.
These printers are known as Virtual Printer because they are just name where no physical printer is not yet attached. A virtual printer name could be “Grill Printer” or “Printer in the Bar”.
When we install a physical printer we attach that physical printer to a virtual printer, for example, we can assign “Epson TMU220” to a Grill Printer. A big advantage of this layered configuration is we can detach or replace a physical printer and the database will not break. These physical printers are terminal dependent. Hereinafter, in this document kitchen printers and virtual kitchen printers are considered synonymous.
Understanding Kitchen Printer Routing
In our POS items are connected to one printer group. So when the server tap on SEND button, it prints the item to all the printers in the group.
Even there is only one kitchen printer, it must be under a group.
In a system with multiple kitchen printers, the Restaurant can create as many printer groups as it needs and arrange printers to them. In the following example, we created 4 groups: “Kitchen”, “Grill”, “Kitchen and Grill”, and “Packing”. Then we add the “Kitchen and the Grill” group to the menu item, “Cheese Sandwich”.
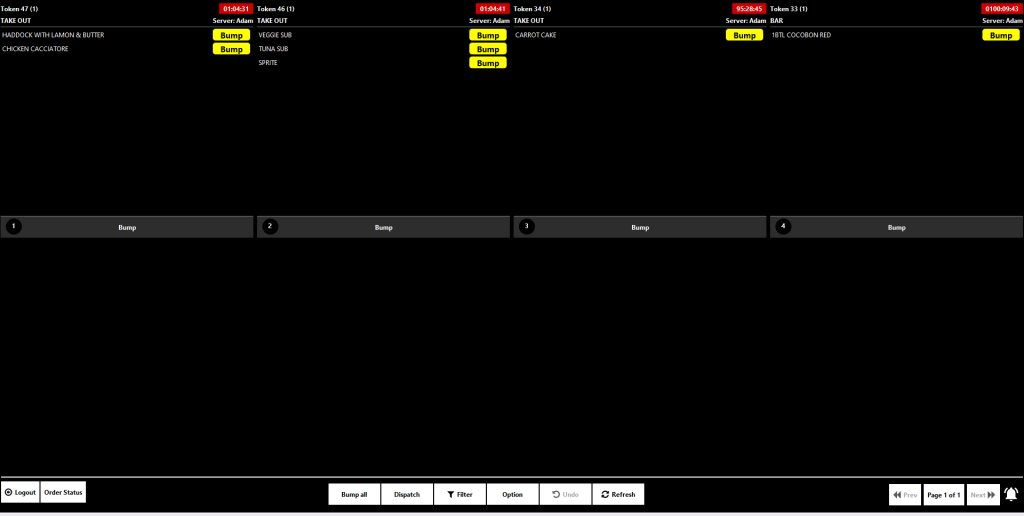
ORO POS support KDS , and KDS can also be used instead of Kitchen printers and show Kitchen Orders.
Paper Size
Impact printers use 76mm paper. However, our POS system supports 3 paper sizes.
- 80mm.
- 76mm.
- 58mm.
Configuring a new printer and a printer group
Back office–> Admin–> Terminal configuration–> Print–> Add a kitchen printer group–> Add a kitchen printer
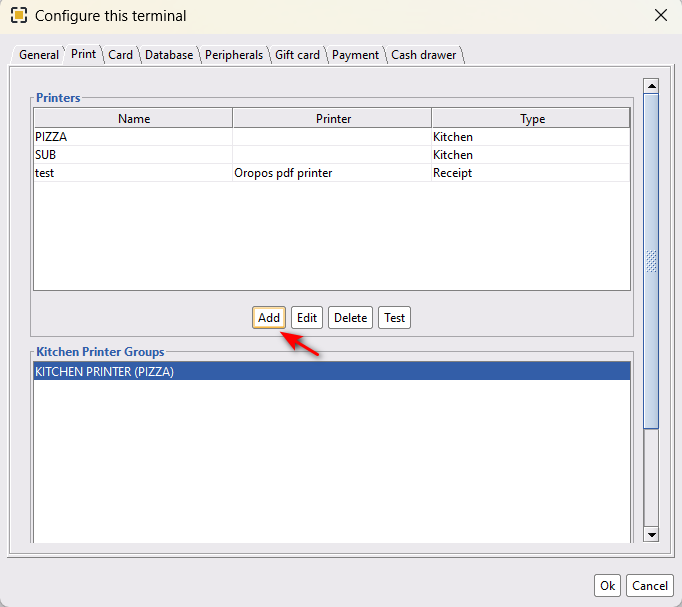
- Click on the Print tab.
- Click on Add to add a new kitchen printer.
- Name your kitchen printer.
- Select the print mode*.
- Select your device. (Please install the device driver prior to finding the device here)
- Press Ok to save it.
- Click on Create New to add a kitchen printer group.
- In that group add your kitchen printers. (In a kitchen printer group, there could be more than one kitchen printer added).
- Press Ok to save the changes.
After setting up the kitchen printer, please restart the system, take orders and check the printer performance.
Set printer group in items
- If the store has only one printer group then, it doesn’t need to set a printer group in items. However, that printer group must be the default one.
- To specify a printer group for an item, edit the item and select the printer group as follows.
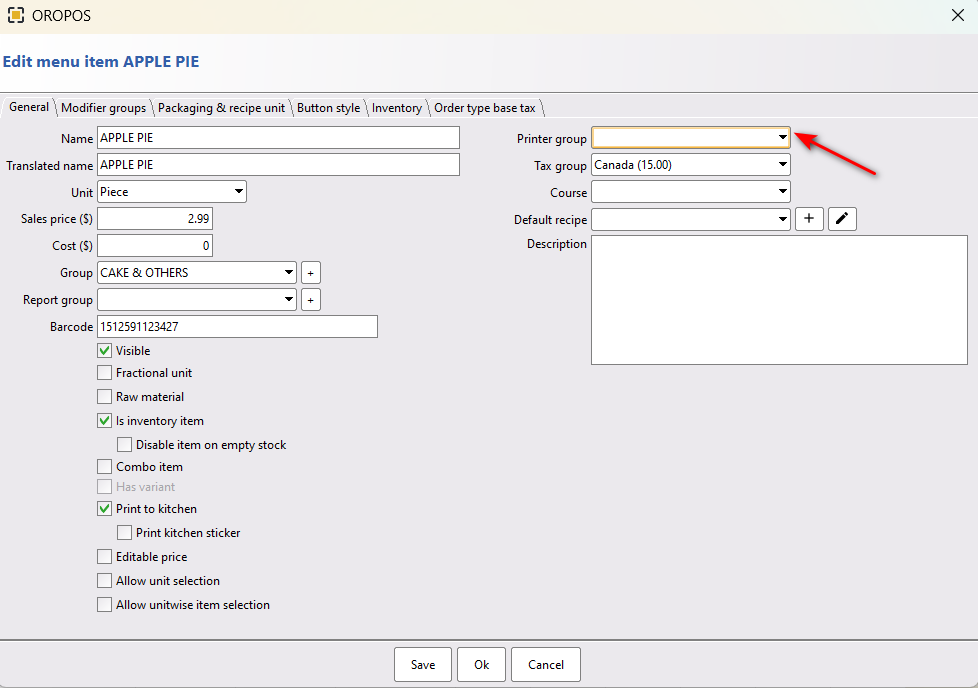
One of the printer group could be marked as “Default”. In case no printer group is assigned Kitchen will use Default printer group.
* Advanced Printer modes
You can run printing in one of the two modes. ESC/POS mode has fewer font sizes but prints 3-5 times faster.
| # | Standard Mode | ESC/POS Mode |
| Feature | Use graphics layout | Use text layout |
| Speed | Regular | Fast |
| HTML support | HTML 3 | None |
| Modifier color | Black or Red | Black or Red |